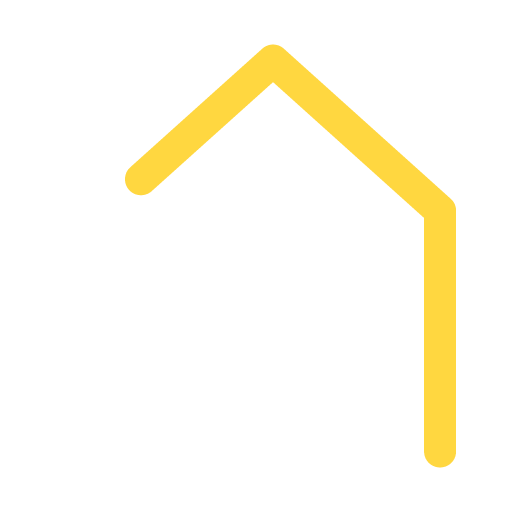
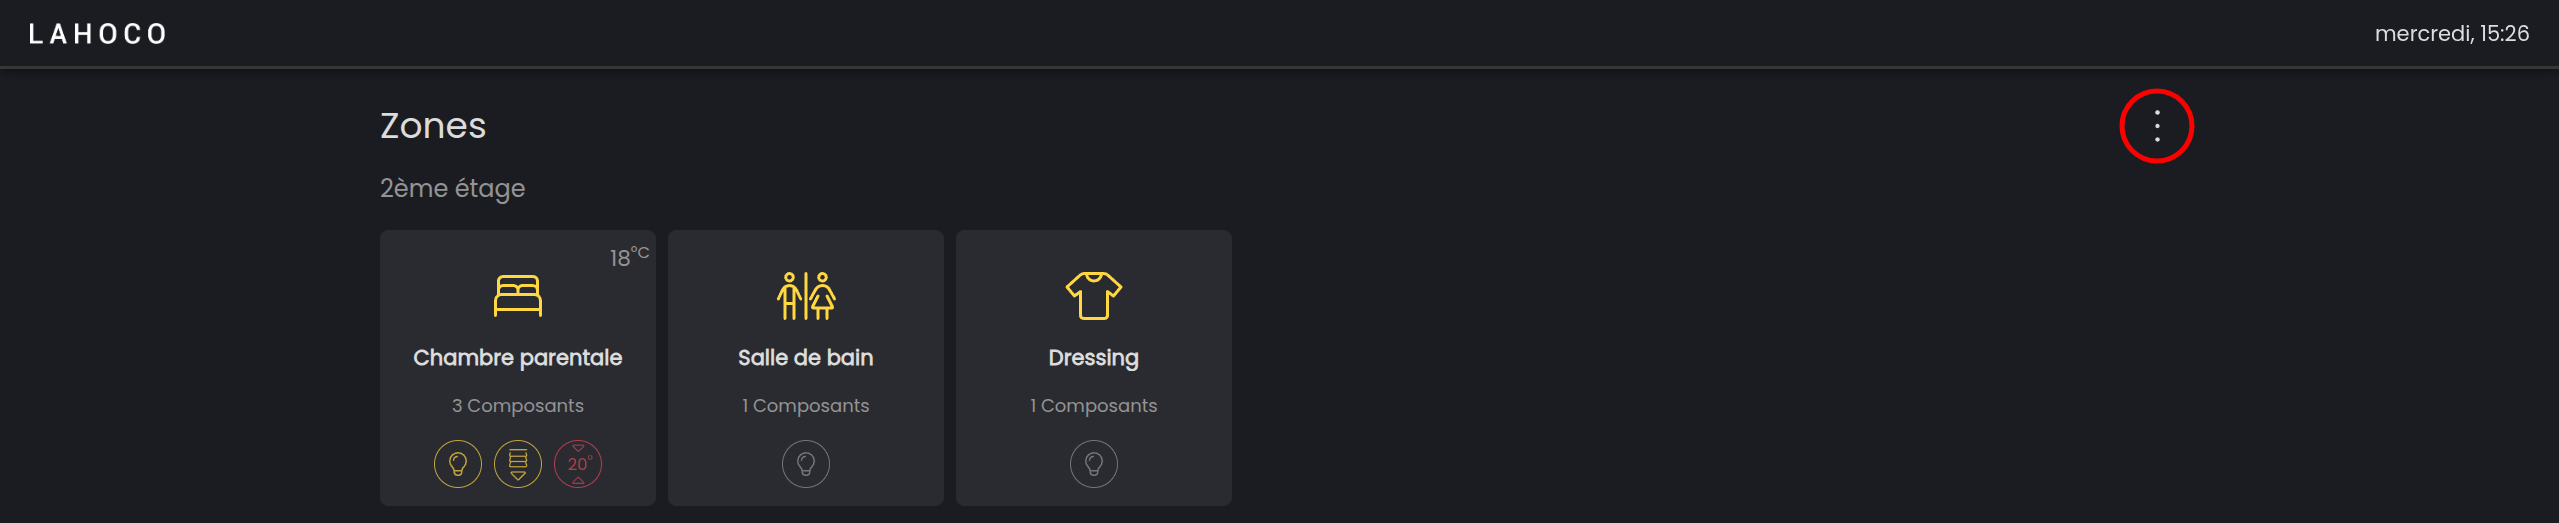
The second tab provides access to areas and zones containing all components.
Here is how the view is composed :
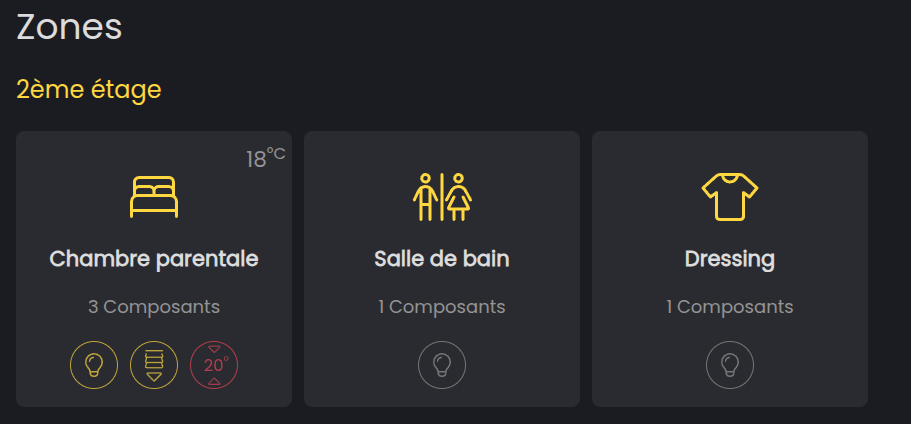
You can see several areas defined by their names, containing several zones. For each zone, you can see the number of components contained in the zone with icons representing the status of the components in it.
At the top right, you can see the average temperature of the room. Just below, a quick overview shows you wheter a light is on in the zone, as well the target temperature and the status of the heating. As for the blinds, you can check wheter they are all raised or lowered, as well as their raising status.
Area, zone, and component, definition
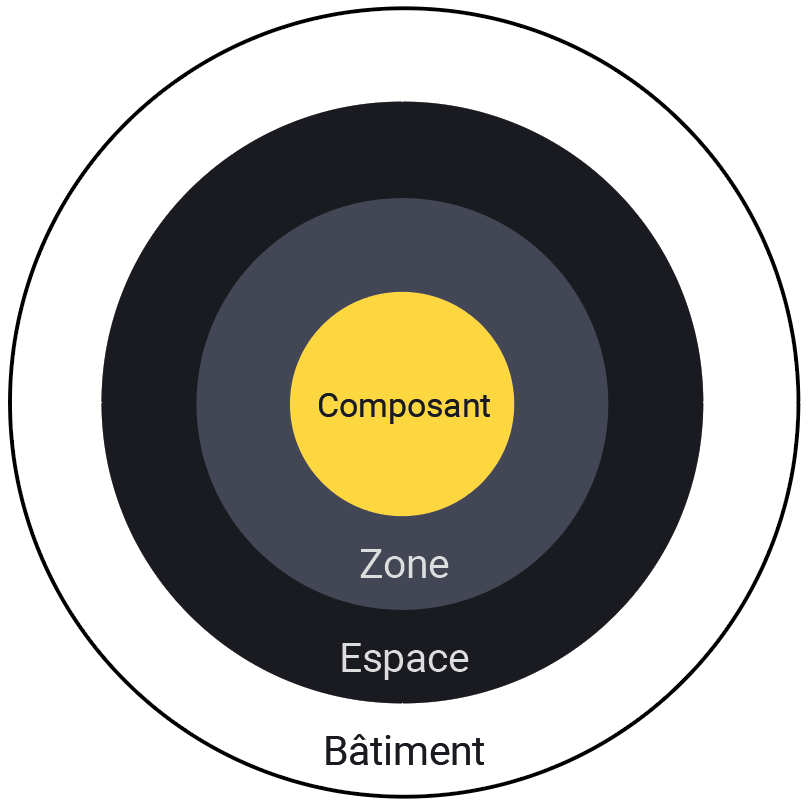
These three temrs – area, zone, and components – allow you to properly structure your LAHOCO HOME application. Here is an explanation from smallest to largest to help you understand thes three terms :
-
Component : represents a physical component, such as a light, a blind, a heater, etc.
-
Zone : container of component(s), often represents a room.
-
Area : container of zone(s), represents a sector or floor
Here is a diagram to explain the tree structure of the different terms.
Areas
An area comprises several zones. For example, a floor of a house (area) contains several rooms (zones).
Add an area
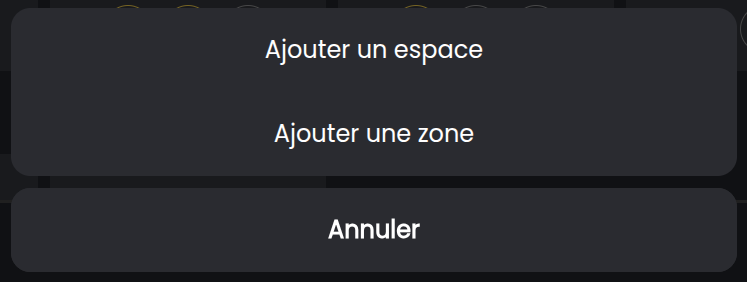
To add a new area, on the areas and zones page, click on the three dots in the top right corner, then click on “Add an area”.
Modify or delete an area
To modify an area, simply click on the name of the space.
You can then change its name or delete the space
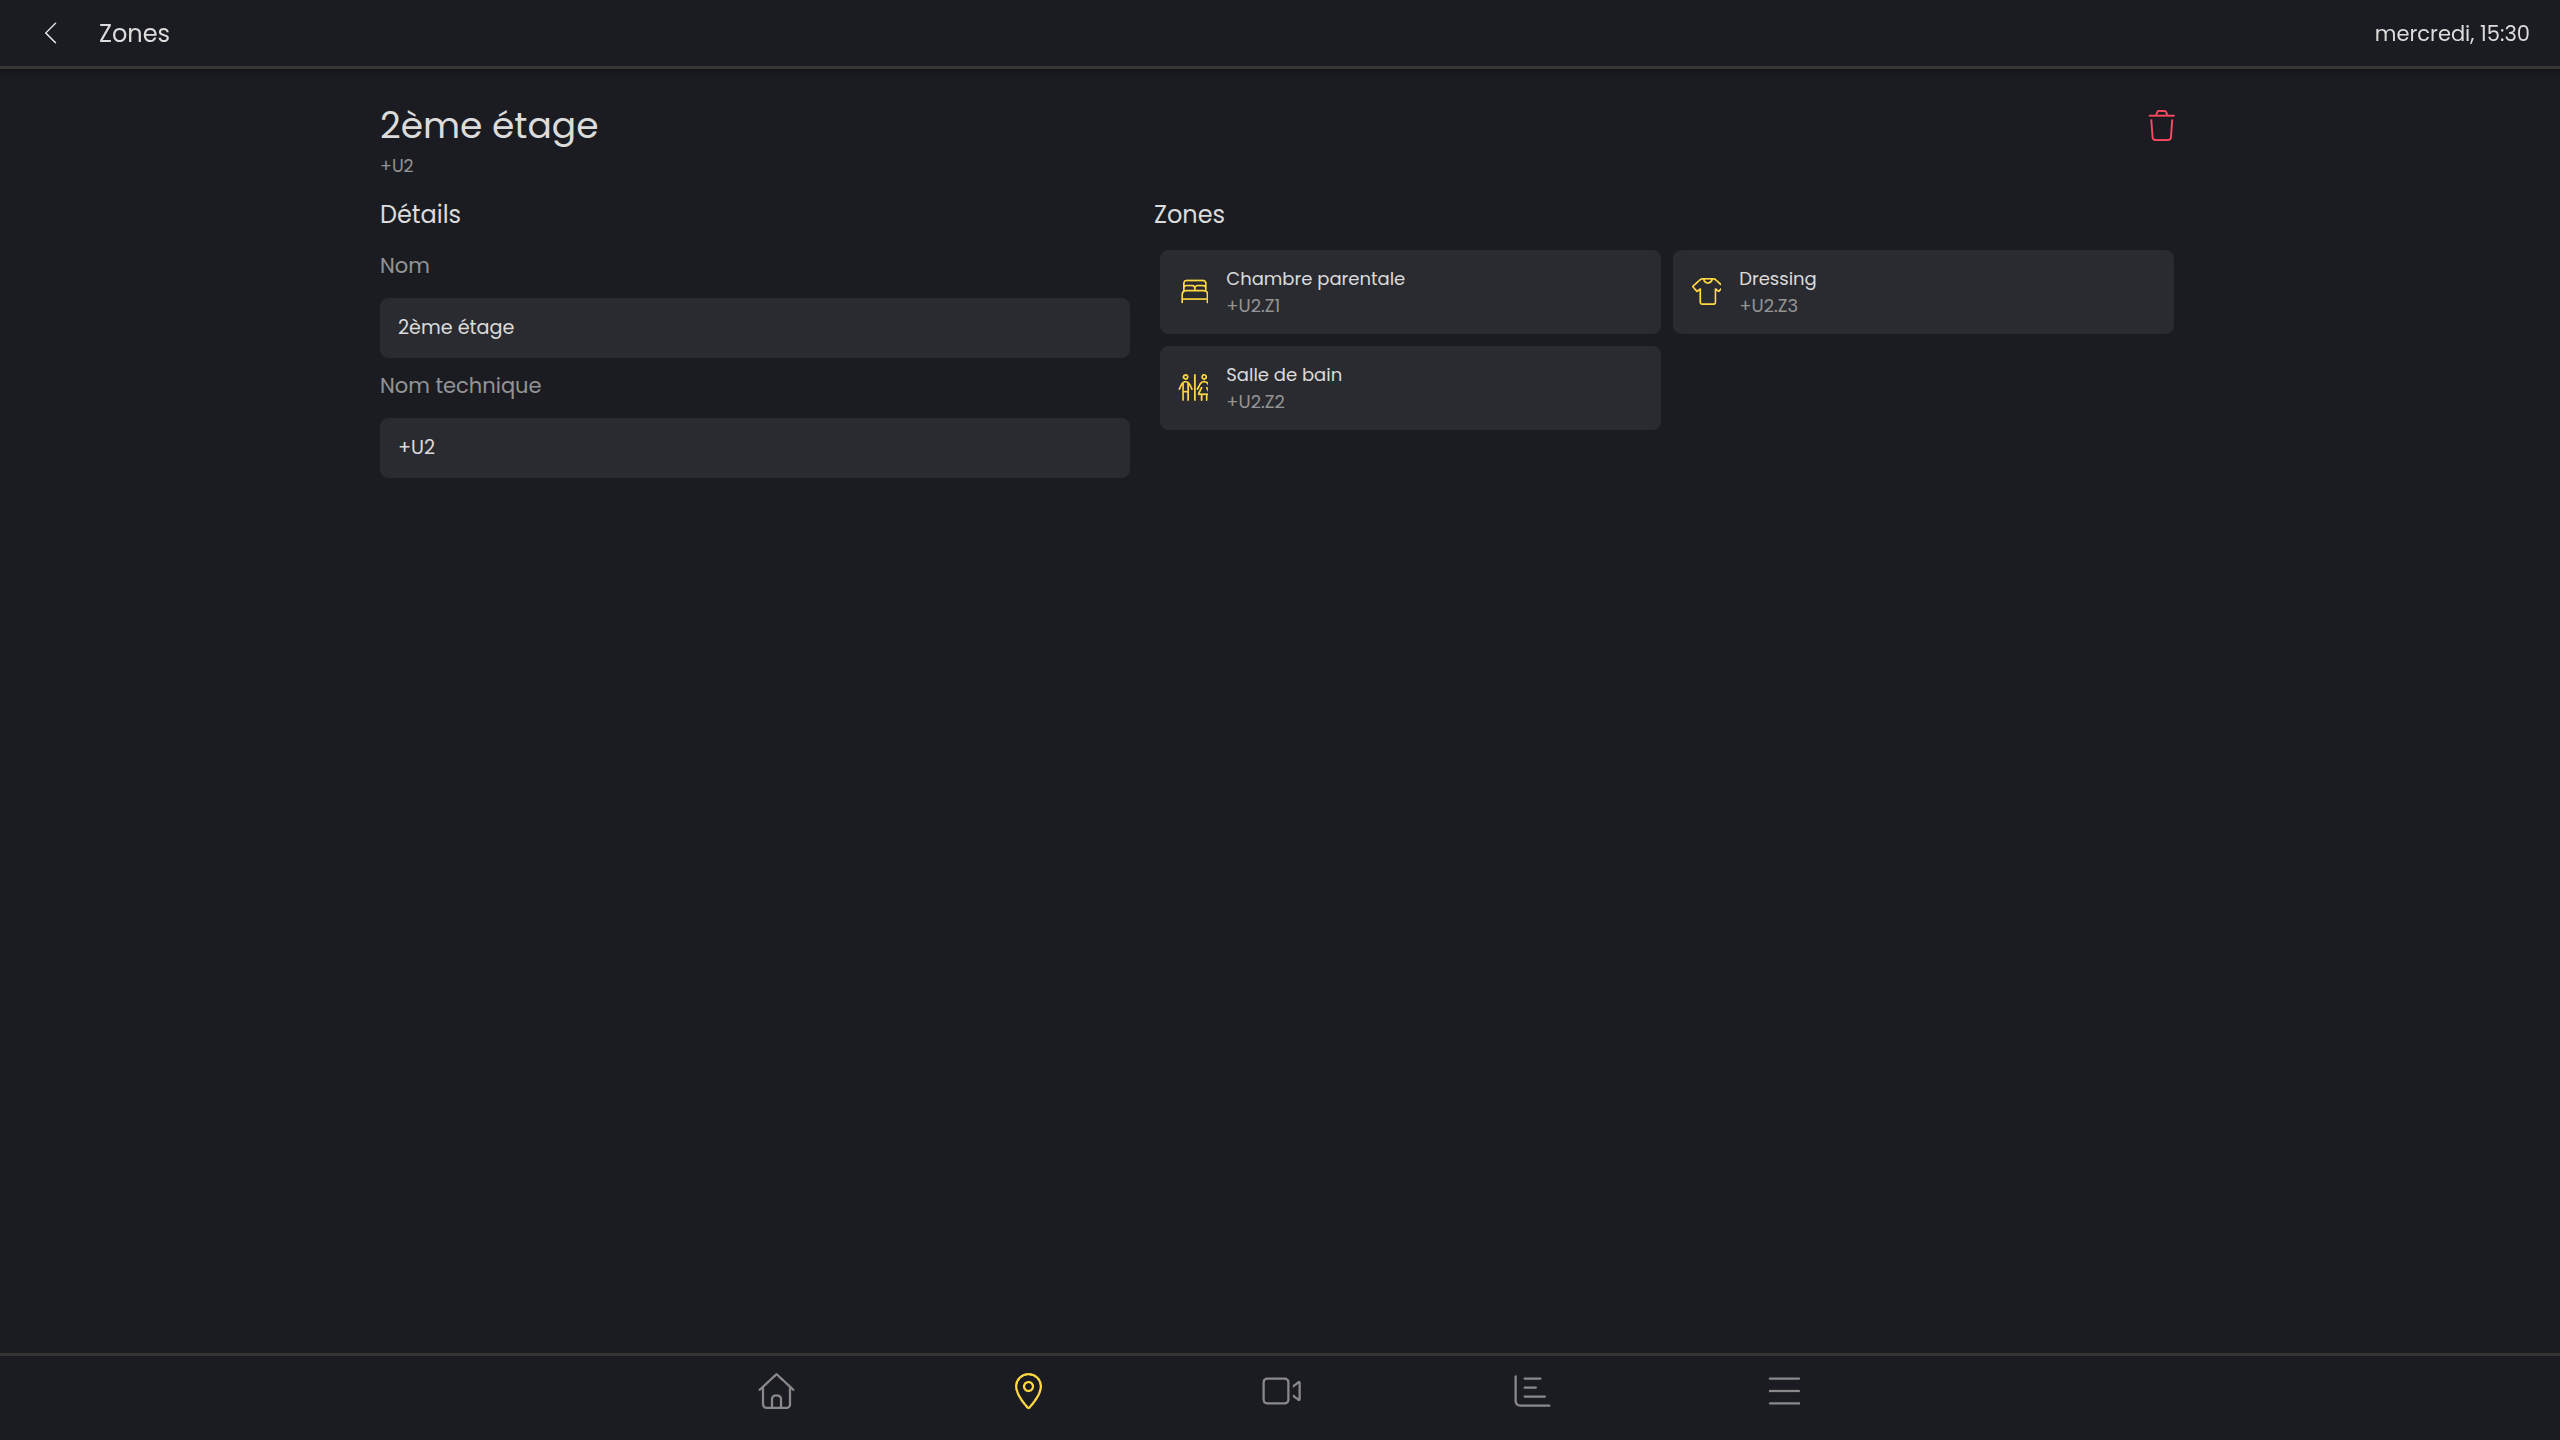
By deleting an area, the zones it contains will become “orphaned” and will be placed in an “unassigned” space.
Modify the order of spaces
To change the order of spaces, press and hold the space, then move it up or down and release to save.
Zones
The view of a zone is divided into 3 sections :
-
Groups (quick action on all components in the zone)
-
Components
-
Scenes
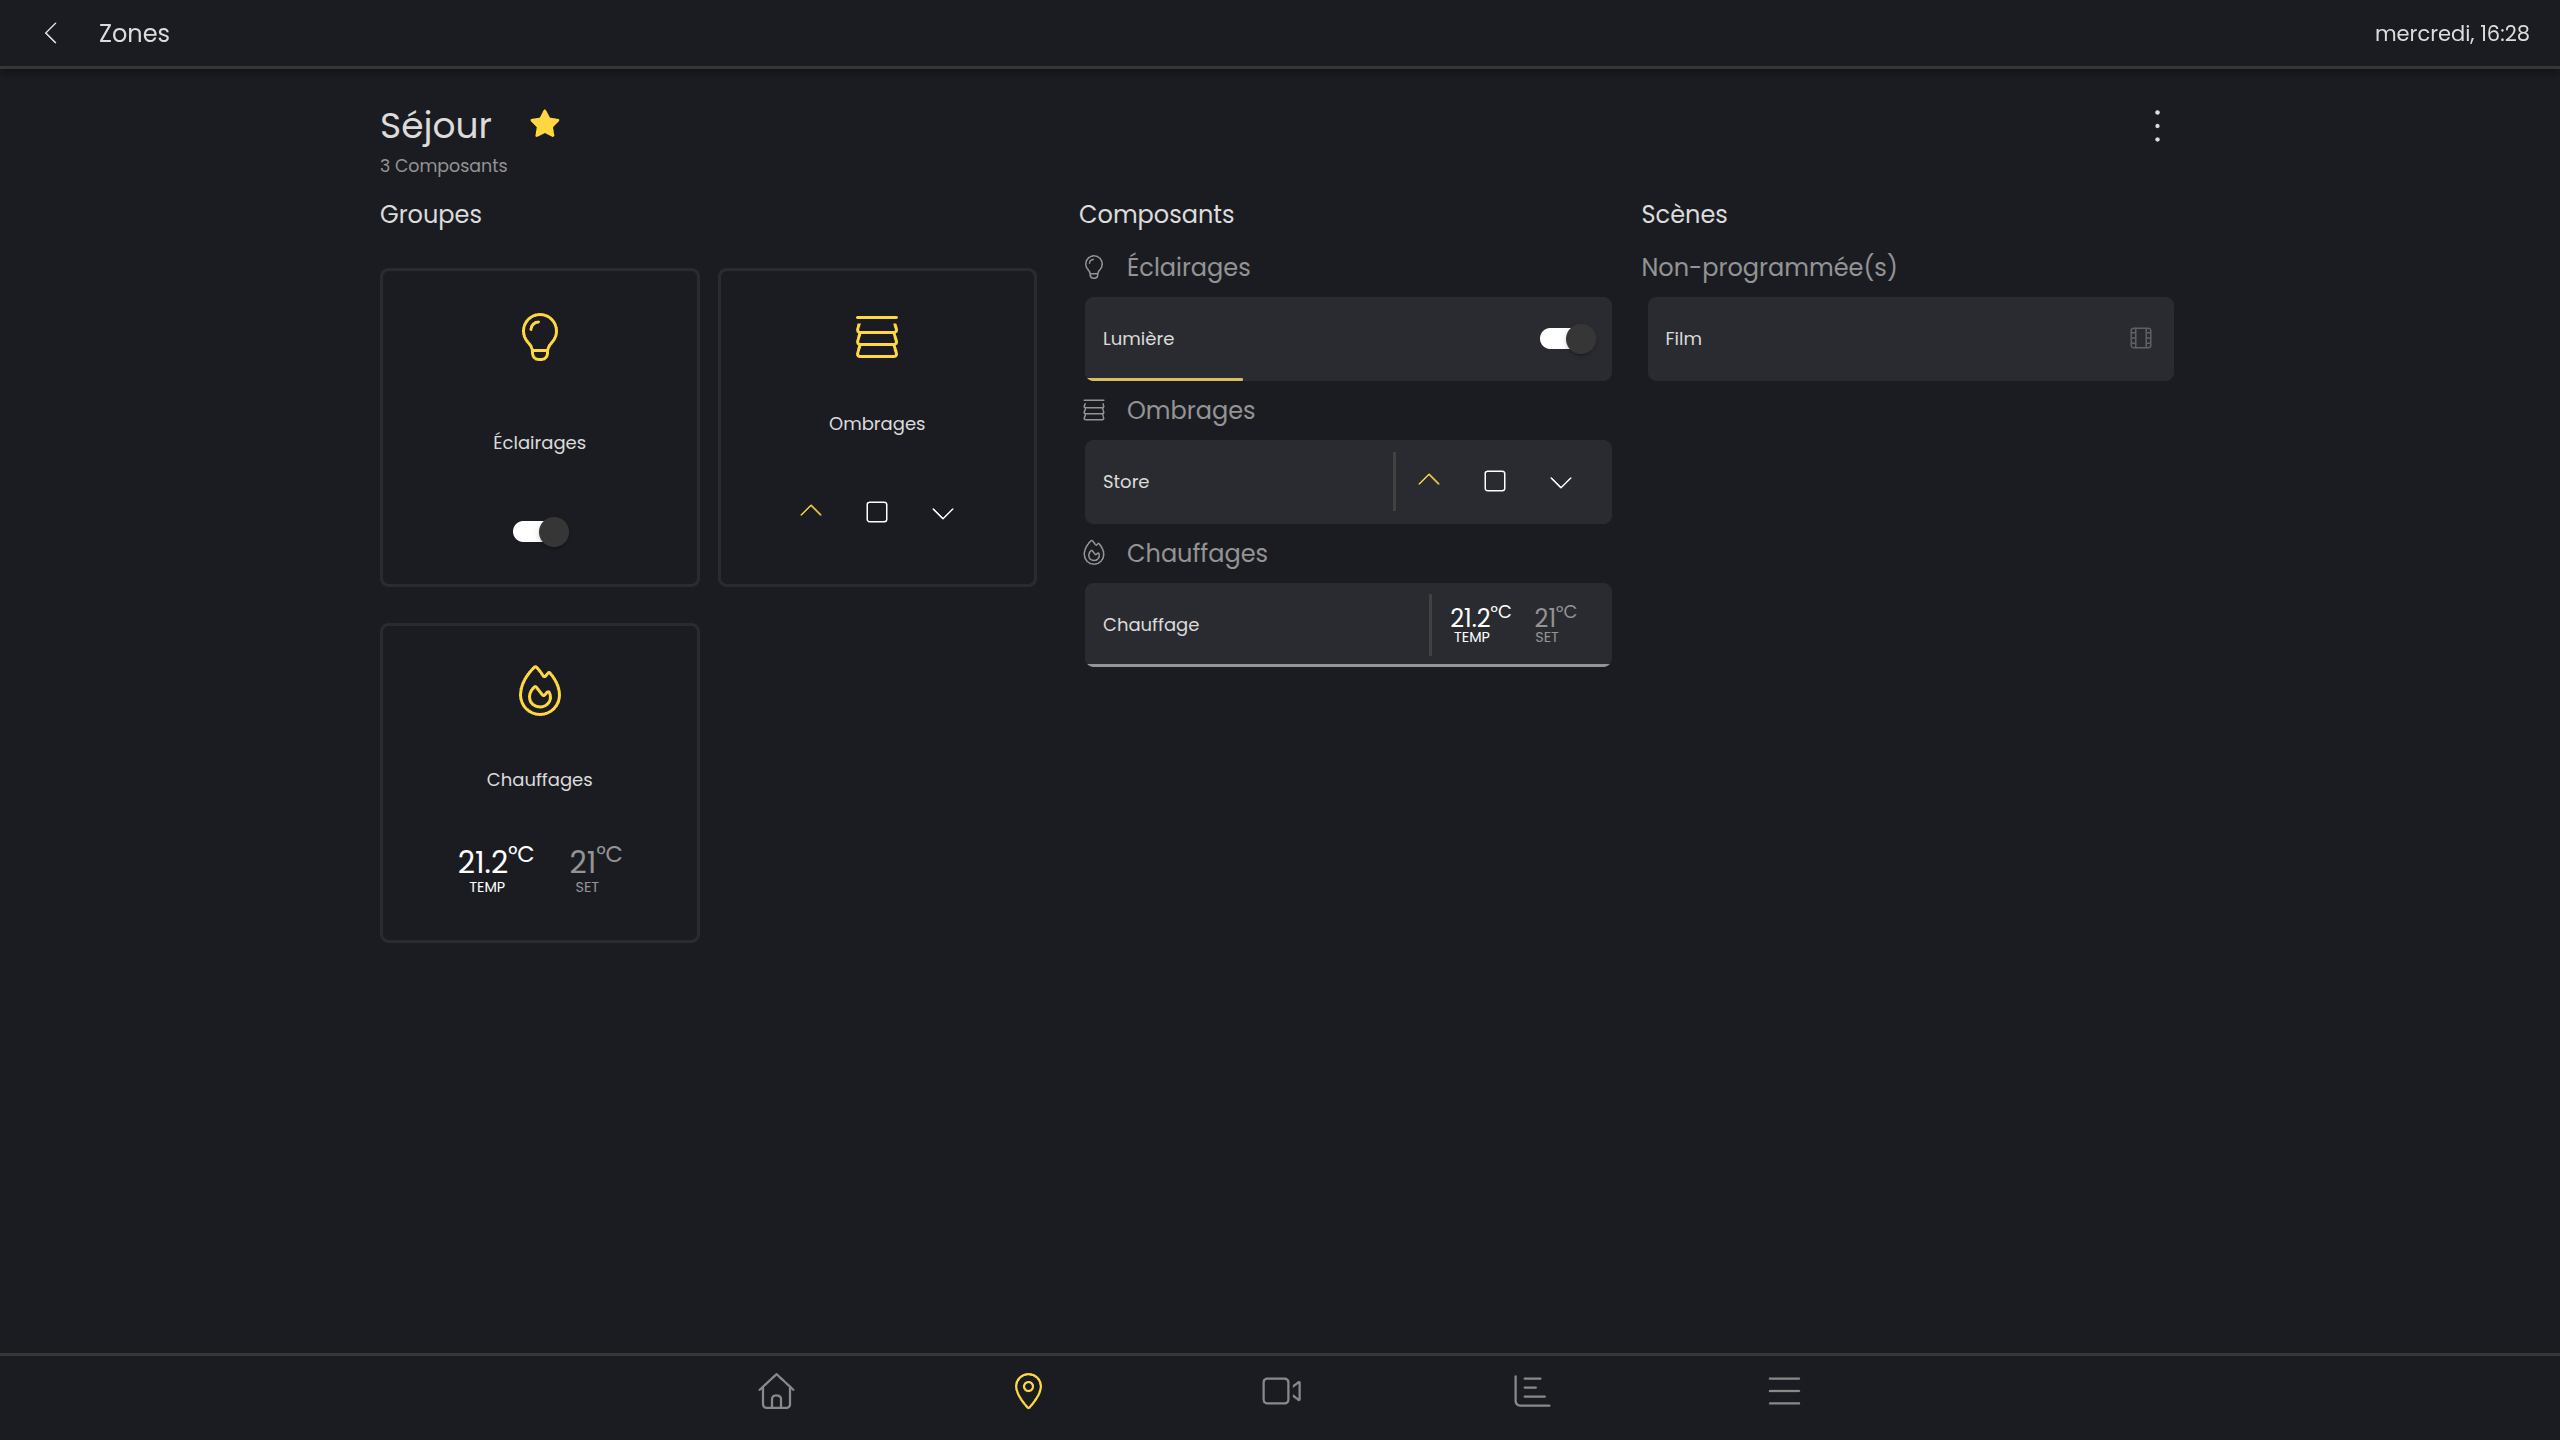
Groups
Groups allow you to interact in the same way with all components of the same type in the zone. For example, you can turn off all the lights or lower all the blinds in the area.
Components
The second section is the components section. In this section, all components in the area listed by component type (lights, blinds, heaters).
Three different interactions are possible for components :
-
Quickly control the component
-
Quickly control the component with precise settings
-
Access the component detail view
In the following illustration, you can see a gray bar below the component. This bar shows the percentage (brightness for a lamp, closure of a blind).
For a lamp, the var turns yellow when the light is on. (If the bar is gray, it shows the percentage at which it will be set when turned on).
Quick control
The quick control buttons accessible in the area view allow you to quickly and easily manage components, as in the following example :
Precise control
It is possible to precisely manage the brightness percentage for a lamp or the closure persentage for a blind. To do this, press and hold, then move from left to rightwhile continuing to hold. Once the desired percentage has been reached, simply release the button to confirm the new status of the component.
Once the pressure is released, the gray bar is set to the correct percentage. The yellow bar then progresses according to the status received from the component.
Component details
To access the details view, simply click on the component
Scenes
The third section is for scenes. For each zone, you can create, modify, and activate scenes. These scenes are linked to the zone. Then can also be found in the third main tab with your favorite scenes.
To configure or modify a scene, see the “Scènes” page.
Creating a scene
Scenes linked to the zone are created directly from the zone. Once the zone components are in the desired state, click on the icon with the three dots, then “Add a scene.”
A window will open asking for the name of the new scene.
To configure the scene, see the “Scènes” page.
Activate a scene
To activate a scene, simply click on it.
If you want to quickly change the scene, you can press and hold. (“Scènes”)
Add a zone
To add a zone, on the Areas and Zones page, click on the three dots in the top right corner, then click on “Add a zone”.
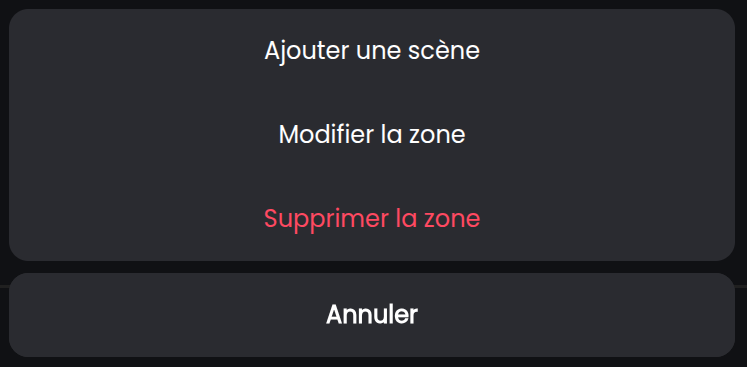
Edit or delete a zone
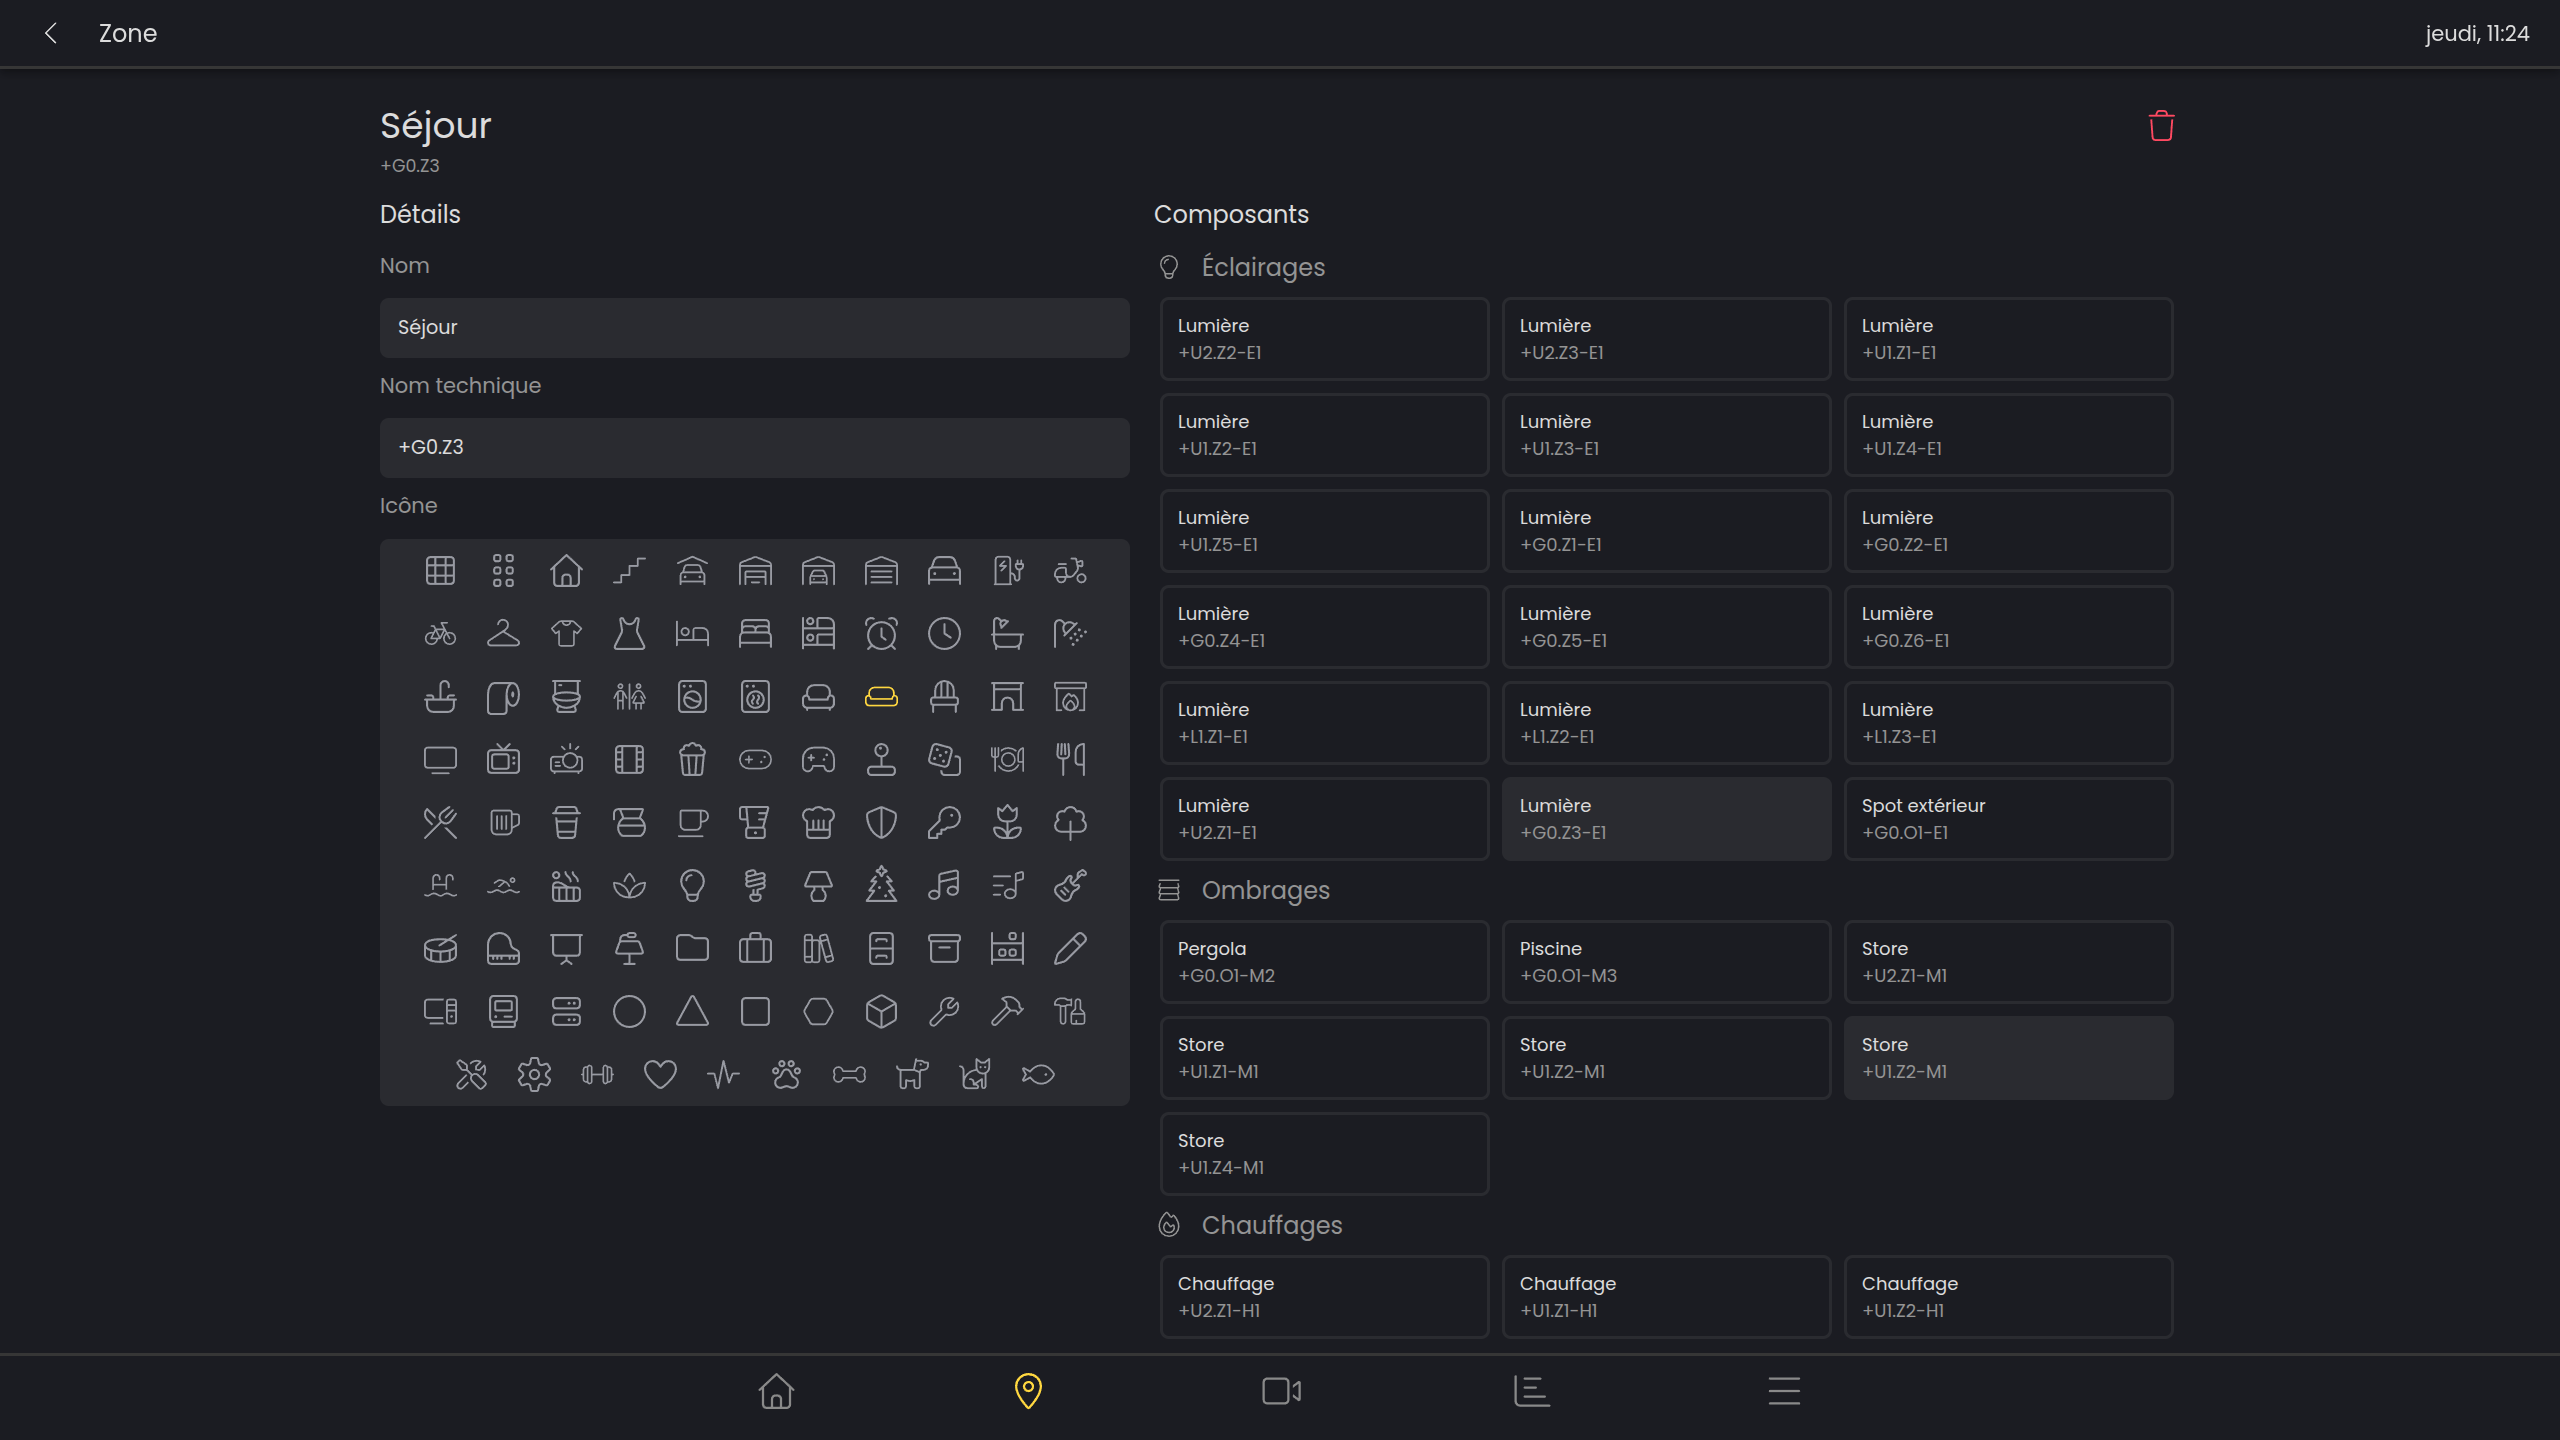
To edit or delete a zone on the zone page, click on the three dots in the top right corner, then click on “Edit zone”.

On the left, you can change the name and icon of the zone.
On the right, you will find lists based on component types (e.g., lights or shades). Simply click on the component to add or remove it from the zone.
Assign/move a zone to an area
To assign a zone to a space, press and hold the zone while holding the zone map, then move it to another space and release to save.
Change the order of zones
To change the order of zones in an area, press and hold the zone while holding the zone card, then move it to the right/left and release to save